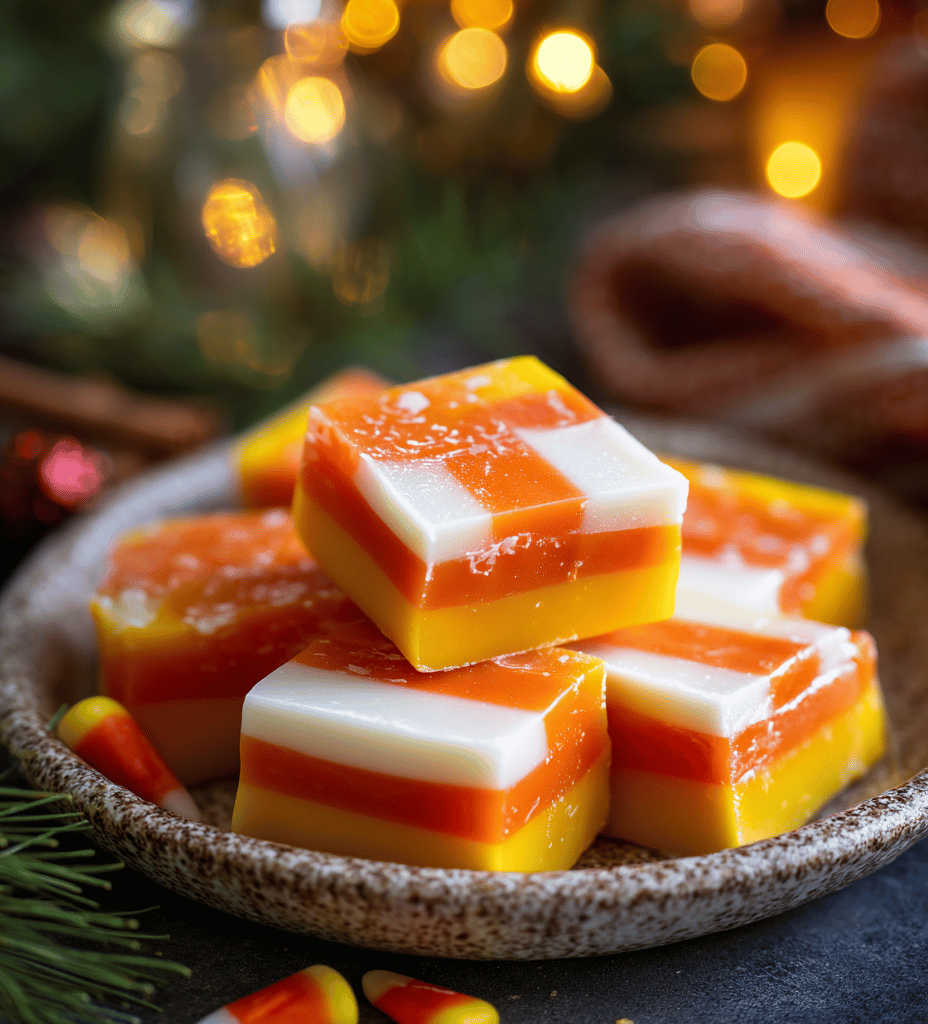

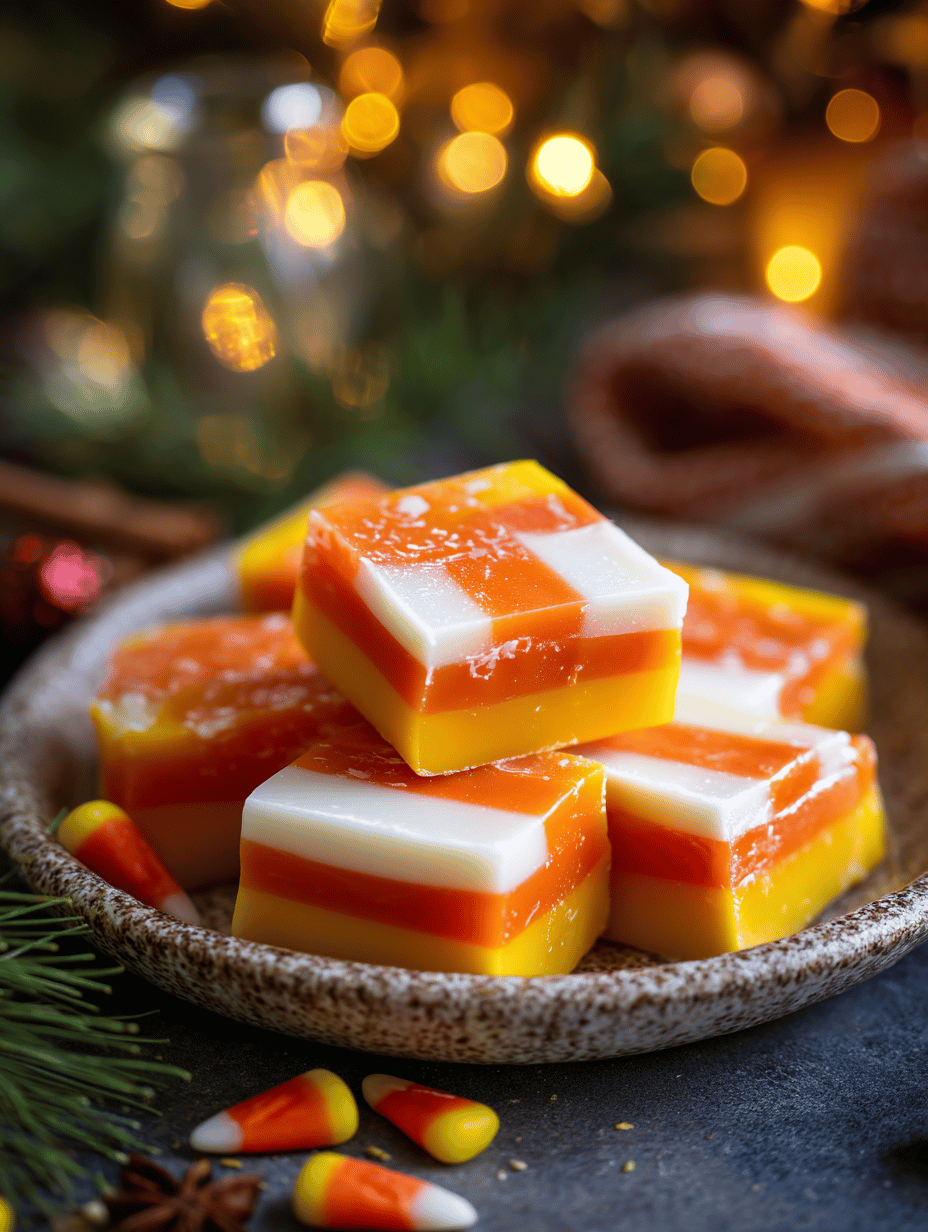
Candy corn fudge feels like a secret handshake among holiday bakers. It’s that weird, comforting mix of childhood candy and rich, creamy chocolate that makes you smile every time. I love how it’s a simple project with a big payoff, especially when you want something sweet without fuss.
Why I Keep Coming Back to This Recipe
It captures that fleeting childhood joy, the kind that hits you unexpectedly. The process is simple enough that I can do it on a whim, but it feels special every time. Plus, it’s a crowd-pleaser that doesn’t require fancy ingredients or complicated steps.
The Ingredients — Simple, But Essential
- White chocolate chips: The base of the fudge, rich and smooth, melts into a velvety texture.
- Sweetened condensed milk: Adds sweetness and helps the fudge set—it’s the glue that holds it all together.
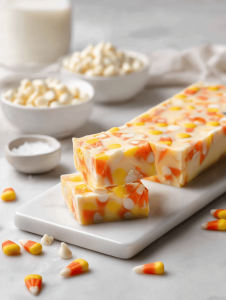
- Candy corn: The star topping, with its buttery, sugary crunch and iconic orange, yellow, and white colors.
- Vanilla extract: Boosts flavor intensity—don’t skip it, even if it seems subtle.
- Salt: Enhances sweetness and balances flavor; a pinch is enough.
Tools & Equipment for Candy Corn Fudge
- Heatproof bowl: Melts the chocolate and condensed milk evenly over simmering water.
- Saucepan: Houses the water bath, gently heating the bowl above.
- Spatula: Spreads and smooths the melted mixture into the pan.
- Parchment paper: Prevents sticking and makes removal easy.
- Knife or pizza cutter: Cuts the fudge into neat squares once set.
A Step-by-Step Guide to Making Candy Corn Fudge
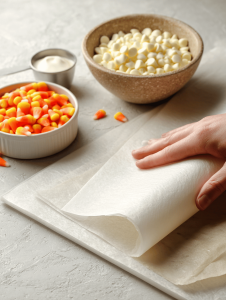
Step 1: Line a 20cm (8-inch) square pan with parchment paper, leaving overhang for easy removal.
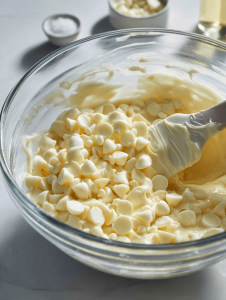
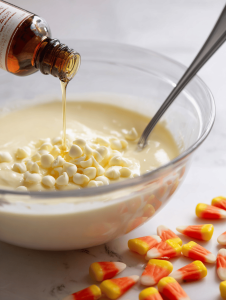
Step 2: Combine 250g (1 cup) of white chocolate chips and 100g (about 1/2 cup) of sweetened condensed milk in a heatproof bowl.
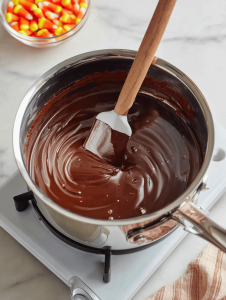
Step 3: Set the bowl over a pot of simmering water (about 80°C / 175°F), stirring constantly until smooth and shiny.
Step 4: Add 1 teaspoon of vanilla extract and a pinch of salt, mixing well.
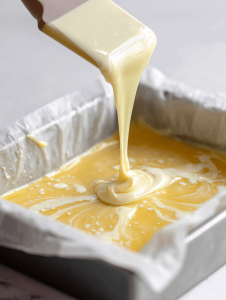
Step 5: Pour the melted mixture into the prepared pan, smoothing the top with a spatula.
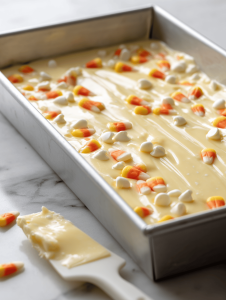
Step 6: Sprinkle candy corn evenly over the top, pressing gently to embed them into the fudge.
Step 7: Let the fudge set at room temperature for about 2 hours or in the fridge for 1 hour until firm.
Step 8: Once set, lift out the fudge using the parchment overhang and cut into squares.
Cooking Checkpoints & Tips for Success
- Ensure the chocolate melts smoothly without burning; keep the water at a gentle simmer.
- The mixture should be glossy and fluid before pouring; if it’s lumpy, reheat gently.
- Press the candy corn into the surface while still soft for a secure, decorative finish.
Common Mistakes & How to Fix Them
- Chocolate burning or seizing.? Stir constantly to prevent scorching. Use a double boiler or simmering water.
- Fudge too thick or crumbly.? Reheat gently or add a splash more condensed milk.
- Candy corn falling off or floating.? Press candy corn into the fudge before it fully sets.
- Fudge splitting or becoming grainy.? Don’t overheat the mixture; keep it glossy and fluid.
Candy Corn Fudge
Ingredients
Equipment
Method
- Line an 8-inch square pan with parchment paper, leaving overhang on the sides for easy removal.
- Combine the white chocolate chips and sweetened condensed milk in a heatproof bowl.
- Set the bowl over a saucepan filled with simmering water, making a double boiler, and stir constantly until the mixture is smooth, shiny, and fully melted.
- Stir in the vanilla extract and a pinch of salt, mixing well until fully incorporated.
- Pour the melted mixture into the prepared pan and use a spatula to spread it evenly into the corners, creating a smooth surface.
- Sprinkle the candy corn evenly over the top of the fudge, pressing gently to embed them into the surface while the mixture is still soft.

- Allow the fudge to set at room temperature for about 2 hours, or refrigerate for 1 hour until firm and easy to cut.
- Once set, lift the fudge out of the pan using the parchment overhang and cut into neat squares with a sharp knife or pizza cutter.
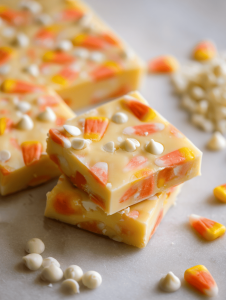
- Serve the colorful, creamy fudge on a platter and enjoy the festive crunch with every bite!
Notes

Hi there! I’m Isabella, the founder and curious foodie behind Crumb Detective. I’ve always believed that every dish has a story to tell — from the secret family recipes passed down through generations to the bold experiments happening in kitchens around the world.