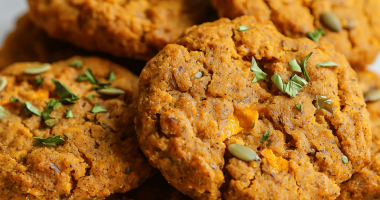
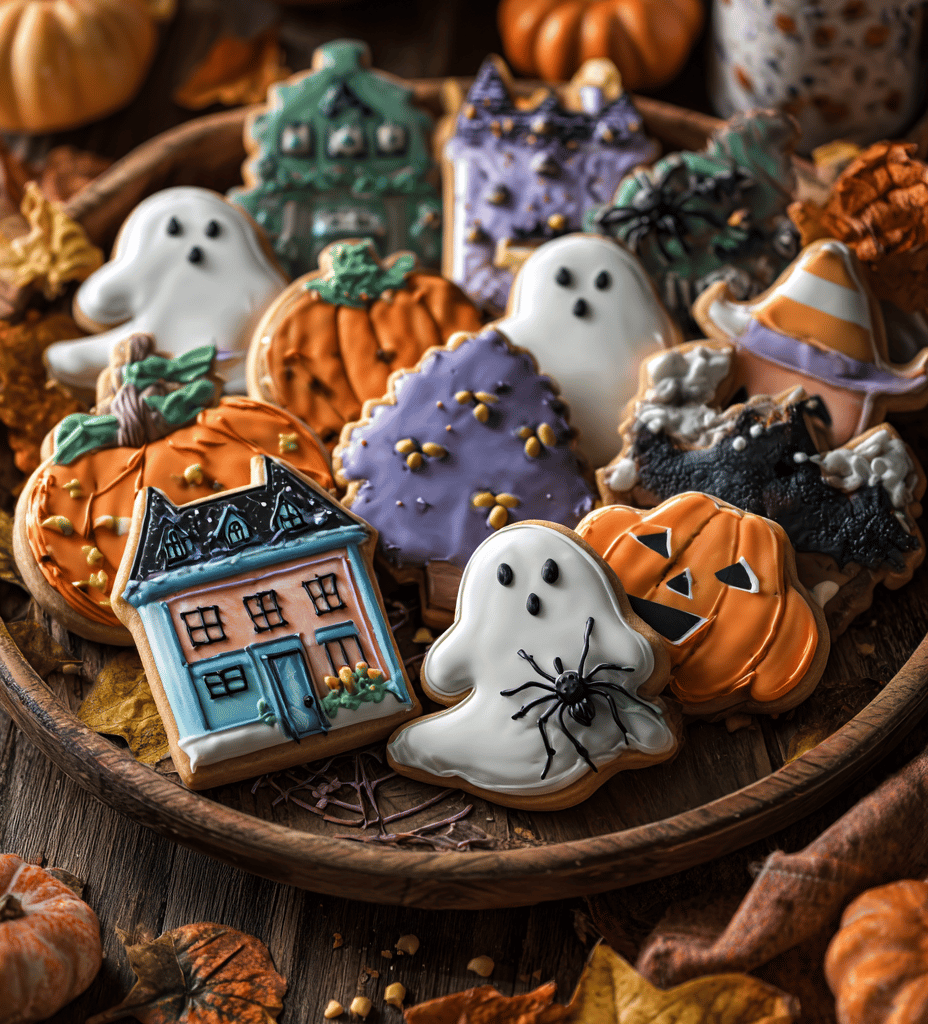
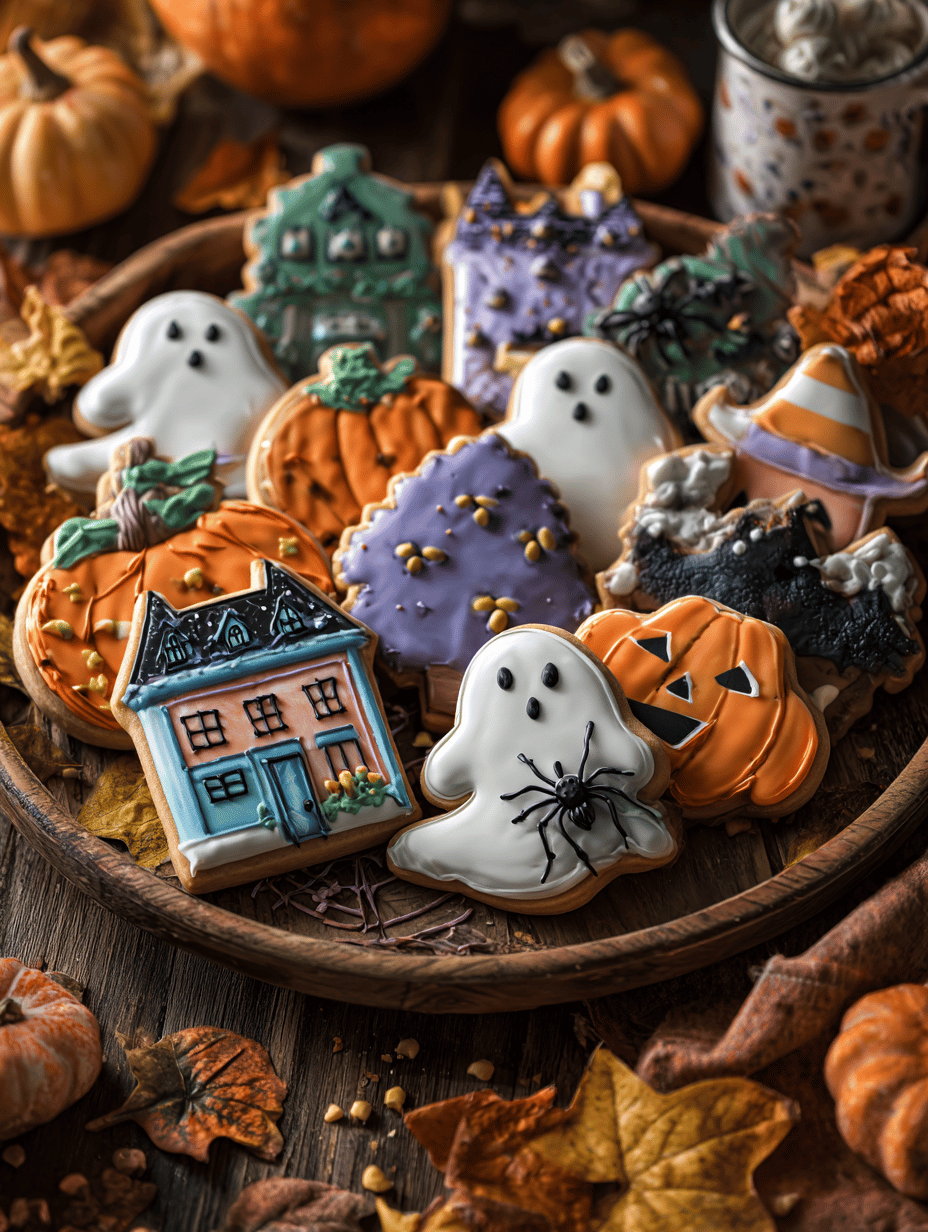
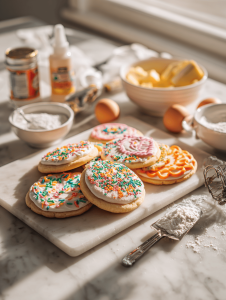
Halloween sugar cookies are a canvas for all things spooky and sweet. I love the way they turn out—crisp edges with a tender, buttery center—each one a tiny sculpture of Halloween cheer. Baking them is a little chaos, a little calm, and a lot of fun, especially when you get to decorate.
Why I keep making these cookies every October
They remind me of childhood, sneaking bites while decorating with friends. The smell of butter and vanilla filling the house is pure nostalgia. Plus, the playful chaos of decorating makes every batch unique—nothing beats that moment of creation.
Breaking down the spooky ingredients
- Butter: Adds richness and a tender crumb—use unsalted for control.
- Sugar: Sweetens and helps with browning—try brown sugar for extra depth.
- Egg: Binds the dough—use large eggs for consistency.
- Vanilla extract: Flavor booster—opt for high-quality vanilla for best aroma.
- Flour: Structure builder—try pastry flour for a softer bite.
- Decorating icing: For spooky faces and details—mix powdered sugar with a splash of lemon juice.
- Sprinkles and edible glitter: Add sparkle and texture—use sparingly for a balanced look.
Tools of the trade for spooky sugar cookies
- Rolling pin: To roll out the dough evenly
- Cookie cutters: To cut out festive shapes
- Baking sheet: To bake cookies on
- Parchment paper: To prevent sticking and facilitate easy cleanup
- Cooling rack: To cool cookies evenly after baking
- Icing tips and bags: To decorate with precision
Step-by-step guide to spooky sugar cookies
Step 1: Preheat your oven to 180°C (350°F). Line a baking sheet with parchment paper.
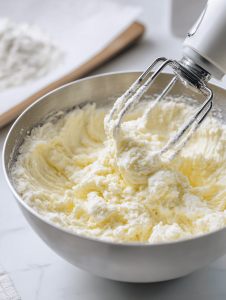
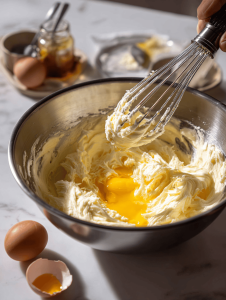
Step 2: In a large bowl, cream together 1 cup of softened butter and 1 cup of sugar until light and fluffy, about 3 minutes.
Step 3: Add 1 large egg and 1 teaspoon of vanilla extract; beat until combined.
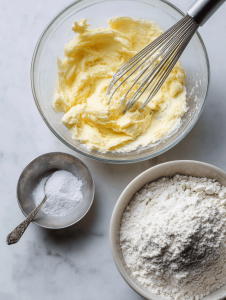
Step 4: In a separate bowl, whisk together 2 ½ cups of all-purpose flour, ½ teaspoon of baking powder, and a pinch of salt.
Step 5: Gradually add the dry ingredients into the wet, mixing just until combined. The dough should be soft but manageable.
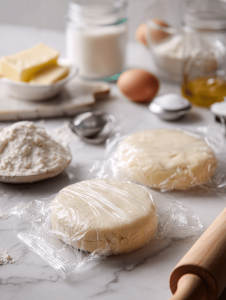
Step 6: Divide the dough into two halves, flatten into disks, wrap in plastic, and chill for at least 1 hour.
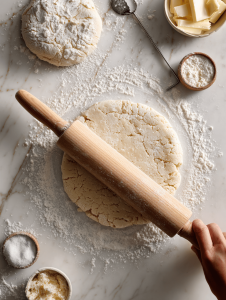
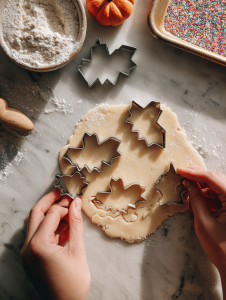
Step 7: On a lightly floured surface, roll out one disk to about ¼ inch thickness.
Step 8: Use Halloween-themed cookie cutters to cut out shapes, then transfer to the prepared baking sheet.
Step 9: Bake for 8-10 minutes, until the edges are just golden. Watch closely to avoid over-baking.
Step 10: Let the cookies cool on the sheet for 5 minutes, then transfer to a wire rack to cool completely.
Key checkpoints for perfect Halloween sugar cookies
- Dough should be firm but pliable, not sticky. If sticky, chill longer.
- Edges of cookies should be golden, not burnt, after baking.
- Icing should set hard and glossy—allow at least 30 minutes after decorating.
Avoid these common baking pitfalls
- Dough was sticky and difficult to cut? Dough too sticky? Chill for 20 minutes before rolling.
- Edges turned dark before cookies were done? Cookies over-baked? Reduce baking time by 1-2 minutes.
- Decorations smudging or sliding off? Icing not setting? Use less water or add a touch of cornstarch.
- Cracks appeared when rolling out? Cookies cracked? Handle dough gently and don’t over-rolling.
Halloween Sugar Cookies
Ingredients
Equipment
Method
- Start by preheating your oven to 180°C (350°F) and lining a baking sheet with parchment paper. In a large bowl, whip softened butter and sugar together until the mixture is light, fluffy, and smells sweet, about 3 minutes.
- Add the egg and vanilla extract to the butter mixture, beating until well combined and smooth.
- In a separate bowl, whisk together the flour, baking powder, and a pinch of salt. Gradually add this dry mixture into the wet ingredients, stirring just until the dough comes together and is soft but manageable.
- Divide the dough into two halves, flatten each into disks, wrap with plastic wrap, and chill in the refrigerator for at least 1 hour to relax the gluten.
- Remove one disk from the fridge and place it on a lightly floured surface. Roll out the dough until it’s about ¼ inch thick, keeping it even and smooth. Repeat with the second disk.
- Use Halloween-themed cookie cutters to cut out shapes, then carefully transfer the shapes onto the prepared baking sheet.
- Bake the cookies for 8-10 minutes, watching closely until the edges turn a light golden brown. The aroma of baked cookies should fill the kitchen.
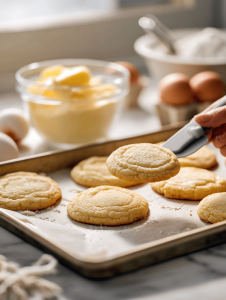
- Allow the cookies to cool on the baking sheet for about 5 minutes, then transfer them to a wire rack to cool completely and set the perfect crisp edges.
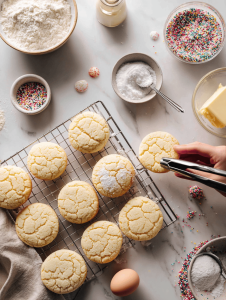
- Decorate the cooled cookies with spooky faces and details using powdered sugar icing, adding sprinkles and edible glitter for extra sparkle. Let the decorations set for at least 30 minutes.
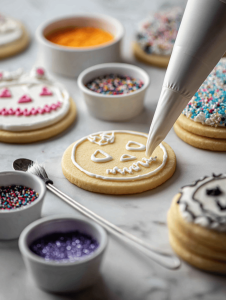
- Once decorated and the icing is fully set, display these cheerful Halloween treats and enjoy their crisp texture and playful designs.
Notes

Hi there! I’m Isabella, the founder and curious foodie behind Crumb Detective. I’ve always believed that every dish has a story to tell — from the secret family recipes passed down through generations to the bold experiments happening in kitchens around the world.