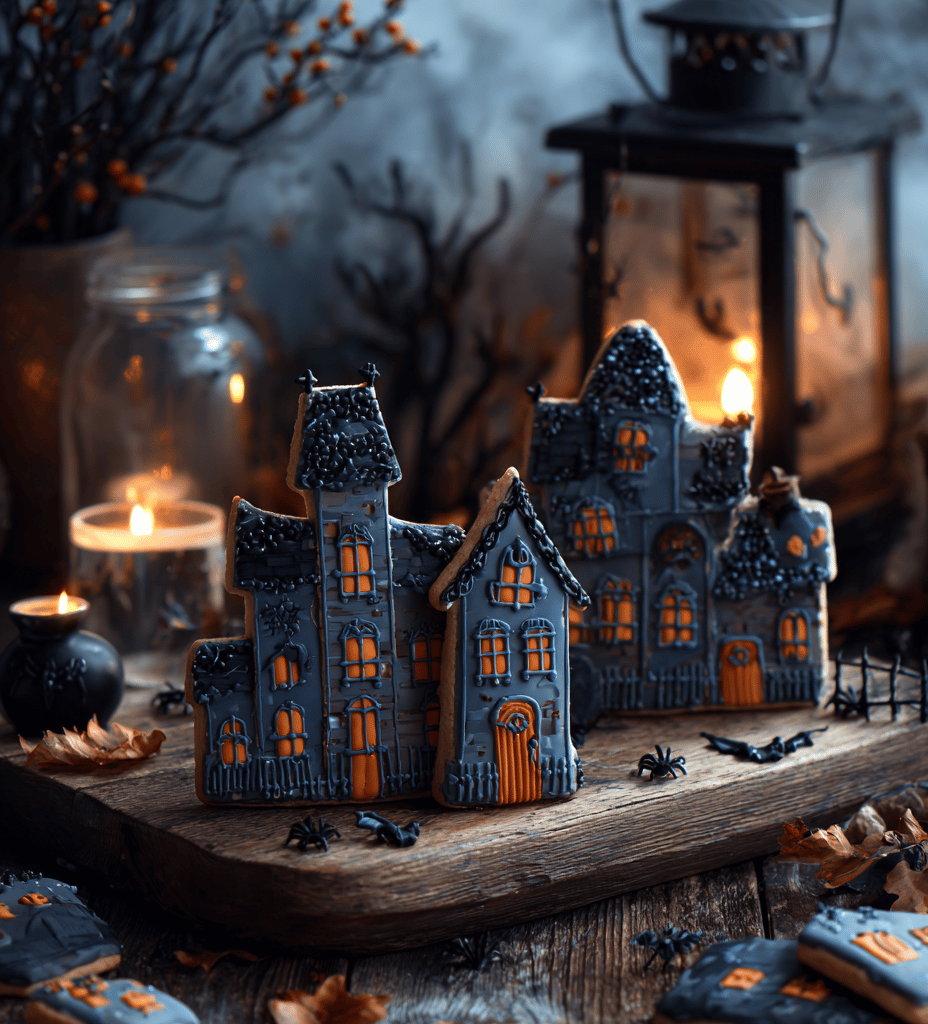
I’ve always loved baking with a little mischief, especially around Halloween. These haunted house cookies are my favorite way to combine that love with a dash of nostalgia. They’re imperfect, a little spooky, but totally irresistible.
Why These Cookies Keep Calling Me Back
They’re unpredictable, a little chaotic—just like Halloween night. Each batch feels like a small adventure, with gooey, crispy, colorful chaos in every bite. Plus, they’re fun to decorate with kids or friends, turning an ordinary day into a spooky workshop.
Spooky Ingredients, Unveiled
- Butter: Rich, creamy base that makes every bite tender. Substitute with margarine if needed.
- Dark chocolate chips: Oozy, smoky sweetness—use milk chocolate for a milder, sweeter vibe.
- Royal icing: For decorating haunted windows and spooky details. You can swap with buttercream for easier handling.
- Food coloring: Vivid, bright or dark to create eerie effects. Gel colors work best—skip the liquid dyes.
- Candy eyes: Perfect for creepy, googly-eyed windows. Use small chocolate chips if you want less fuss.
Tools of the Spooky Trade
- Mixing bowls: For combining your ingredients without chaos.
- Cookie cutters: Shape your haunted houses and creepy details.
- Piping bags or plastic zip bags: Decorate with precision or a messy, fun hand.
- Baking sheet: Where your spooky creations come to life.
The Spooky Steps to Haunted House Cookies
Step 1: Preheat your oven to 180°C (350°F).
Step 2: Gather your ingredients and tools, then get ready to create some creepy, delicious cookies.
Watching for Creepy Cues: Key Checkpoints
- Cookies should be golden-brown around the edges, not burnt.
- Frosting should be firm but spreadable, not runny or stiff.
- Decorations should set within 30 minutes, not smudging or melting.
Avoiding Haunted Mishaps
- Cookies turn dark and bitter.? OVER-TORCHED COOKIES
- Frosting slides off or smears.? TOO THIN FROSTING
- Cream cheese or frosting is lumpy.? LUMPY FILLINGS
- Colors run into each other.? DECORATION BLEEDING
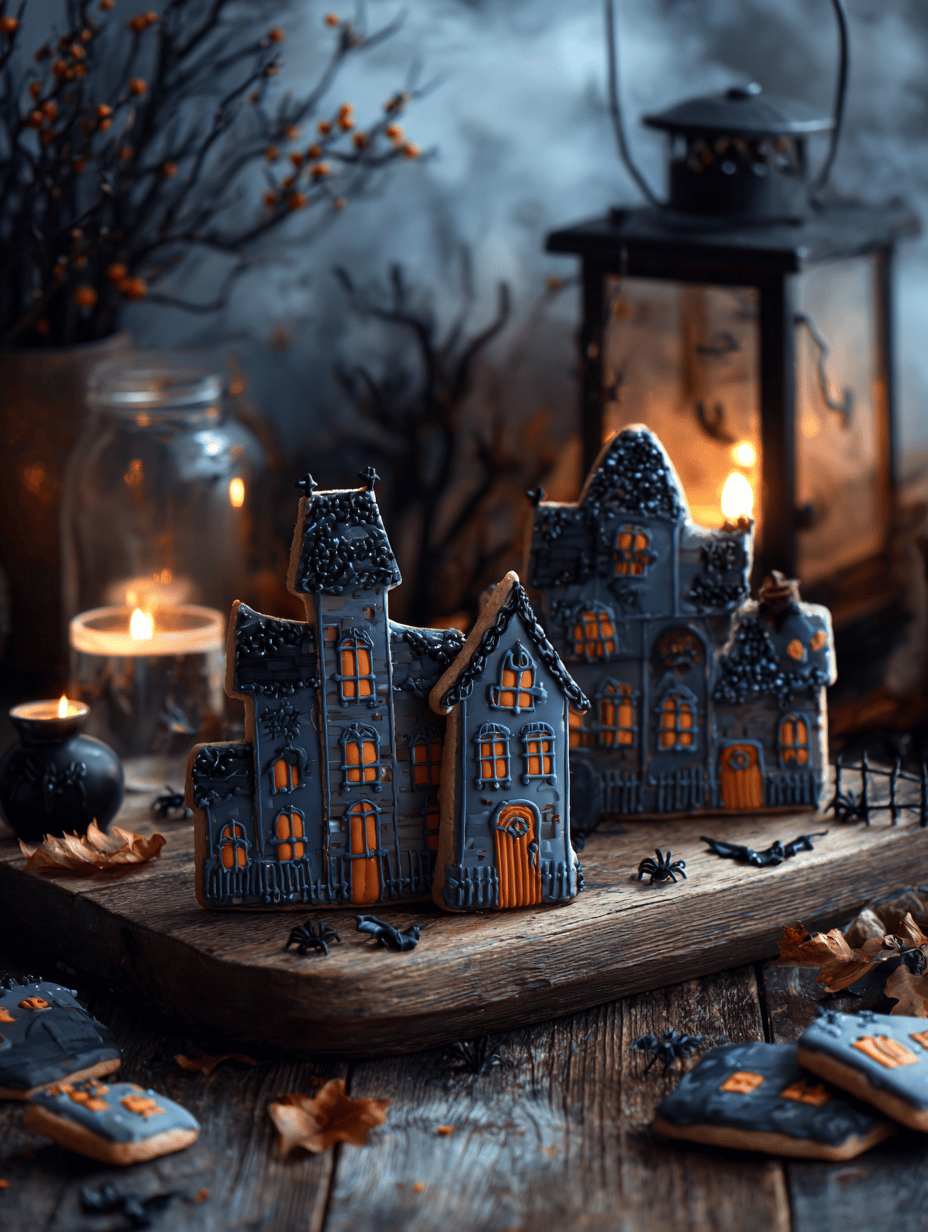
Haunted House Cookies
Ingredients
Equipment
Method
- Preheat your oven to 180°C (350°F). Line a baking sheet with parchment paper and set aside.
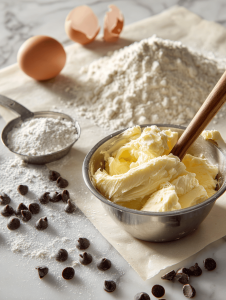
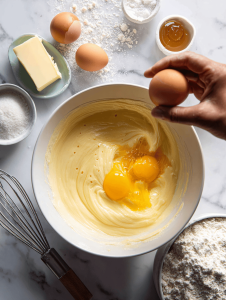
- In a large mixing bowl, beat softened butter and granulated sugar together until creamy and light, about 2-3 minutes. The mixture should be fluffy and pale in color.

- Add eggs one at a time, beating well after each addition. Then mix in vanilla extract until evenly incorporated. The batter will become smooth and glossy.
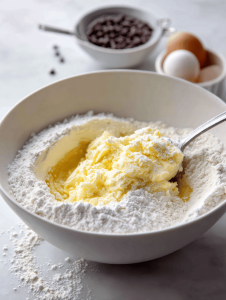
- Gradually add sifted flour and baking powder to the wet ingredients, folding gently until just combined. The dough will start to come together and feel slightly sticky but manageable.
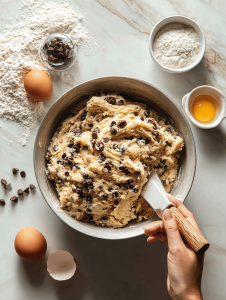
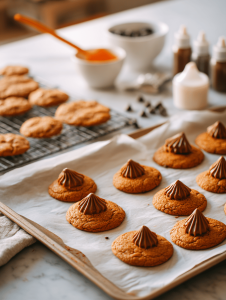
- Stir in dark chocolate chips, distributing them evenly throughout the dough for gooey bursts of chocolate in each cookie.
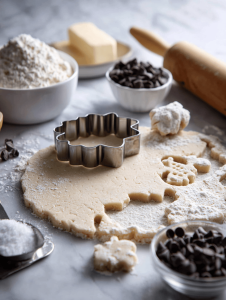
- Using a cookie cutter, shape the dough into haunted house or spooky shapes on the prepared baking sheet. Space them about 2 inches apart to allow spreading.
- Bake in the preheated oven for 12-15 minutes, or until the edges are golden brown and crispy. Remove from oven and let cookies cool slightly on the sheet before transferring to a wire rack.
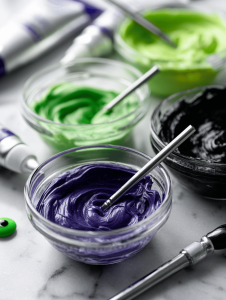
- While cookies cool, prepare your royal icing. Divide it into bowls and add food coloring to create eerie hues like green, purple, or black. Mix until vibrant and smooth.
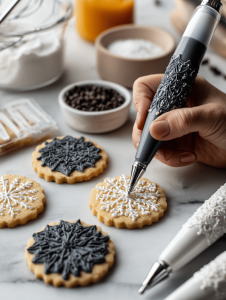
- Fill piping bags or plastic zip bags with the colored icing, snipping a small tip for detailed decorating. Pipe haunted windows, spooky doors, or cobwebs onto the cookies.
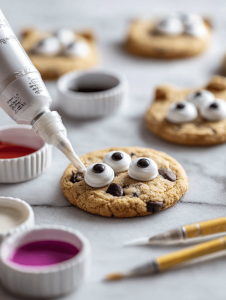
- Attach candy eyes to the cookies using a dab of royal icing, creating creepy, googly-eyed haunted houses. Let decorations set for about 30 minutes until firm.
- Enjoy your spooky, colorful haunted house cookies with a crunch and gooey chocolate surprise inside—perfect for Halloween festivities!
Notes

Hi there! I’m Isabella, the founder and curious foodie behind Crumb Detective. I’ve always believed that every dish has a story to tell — from the secret family recipes passed down through generations to the bold experiments happening in kitchens around the world.