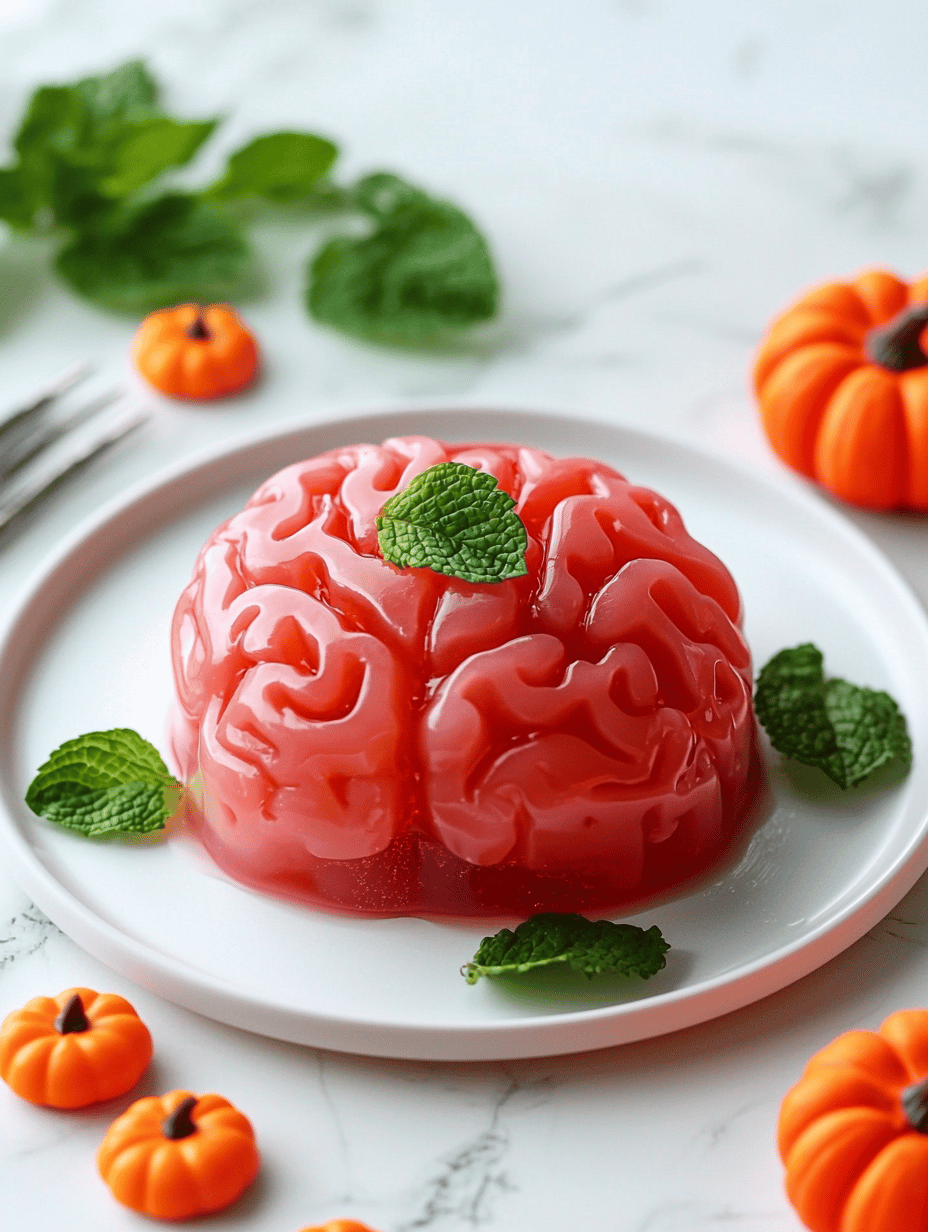
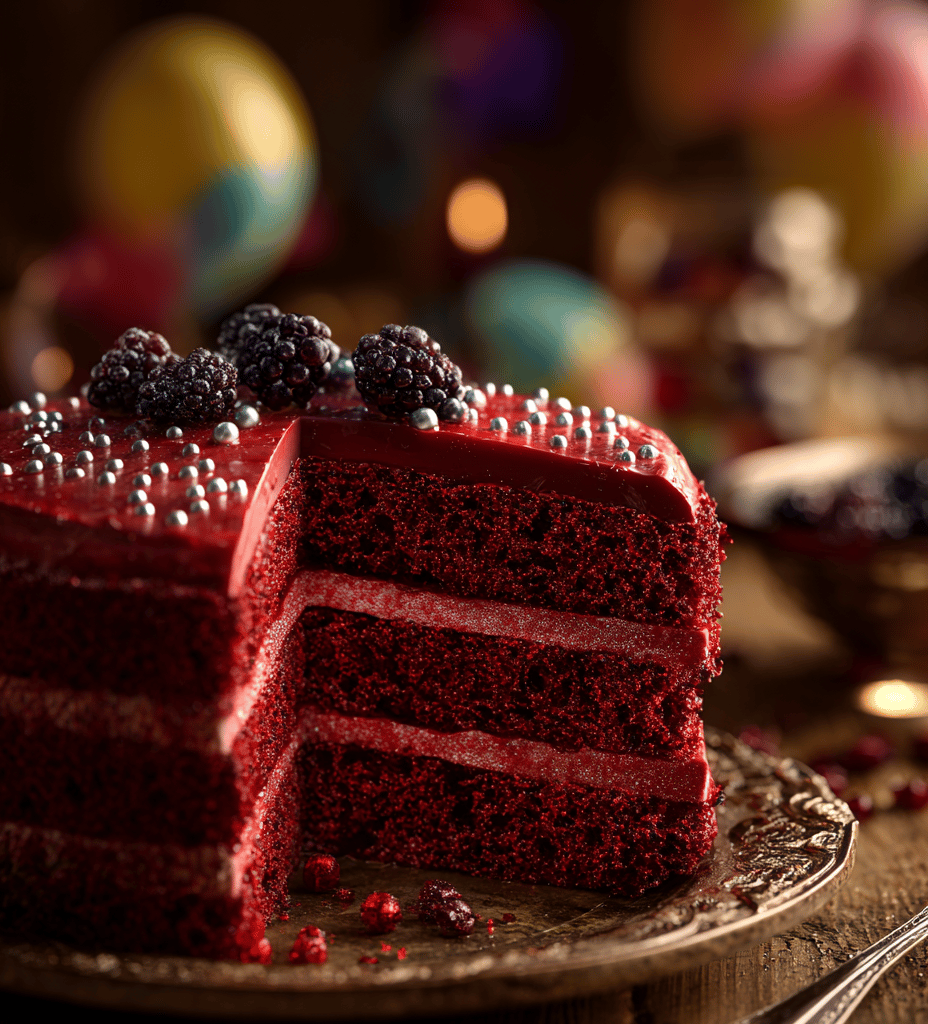

Blood-red velvet cake isn’t just visually striking, it’s a nostalgic nod to birthday parties and family gatherings. This version skips the overly sweet, leaning into a subtle cocoa depth and a hint of tang from buttermilk. It’s a reminder that sometimes, the simplest ingredients make the most memorable desserts.
Why I Keep Returning to This Blood-Red Treasure
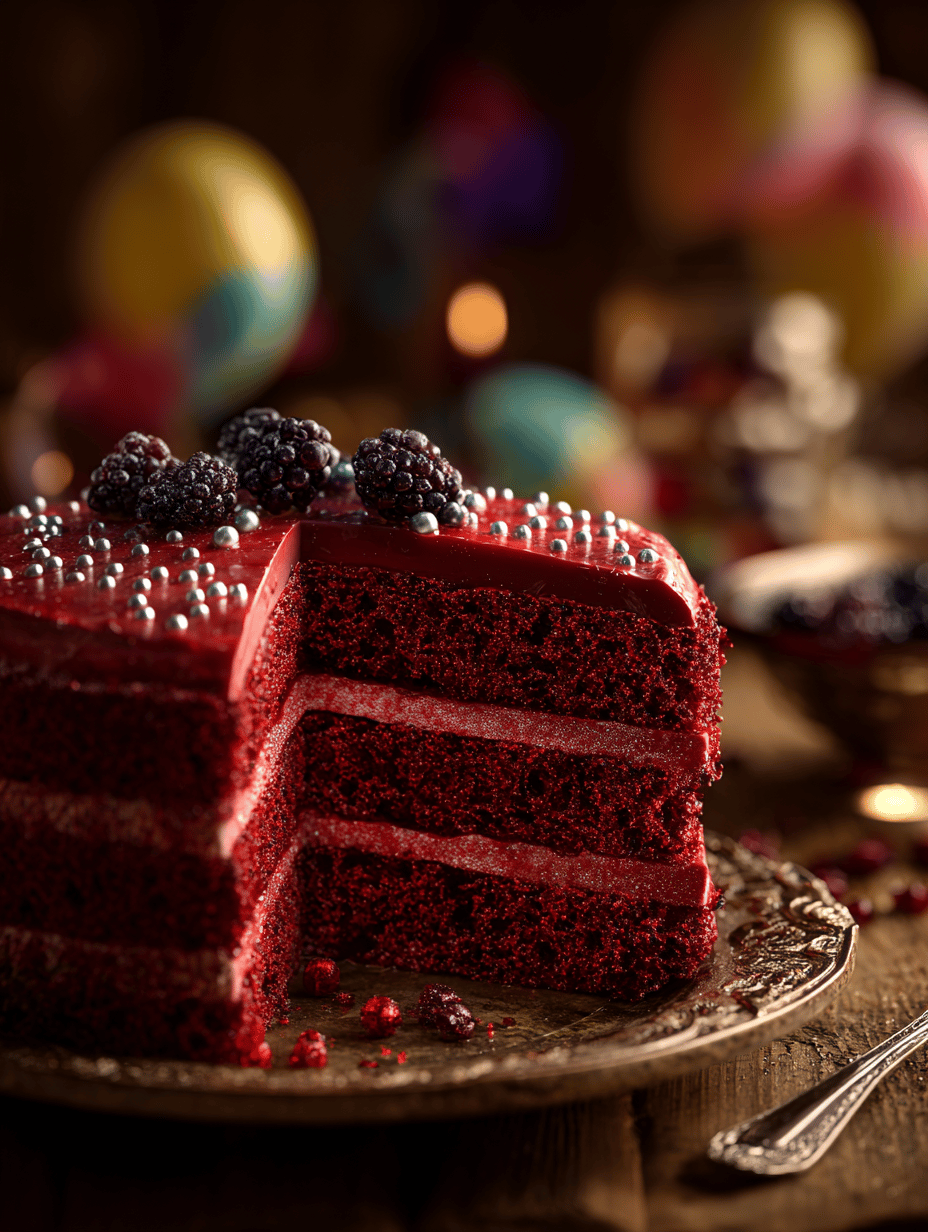
The vivid color and complex flavor profile make it more than a dessert. It’s the chaos of mixing, the anticipation of the rise, and the satisfaction of that first perfect slice. It’s a cake that demands attention and rewards with every bite, stirring up nostalgia and pride alike.
What’s Inside the Blood-Red Velvet?
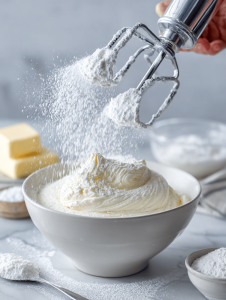
- All-purpose flour: Gives the cake structure, a neutral base that holds all the flavors.
- Cocoa powder: Adds that deep, earthy richness with a hint of bitterness.
- Buttermilk: Tenderizes and brightens the crumb, smells slightly tangy, almost citrusy.
- Red food coloring: Vivid and intense, it’s like painting with edible blood—bright and dramatic.
- Vegetable oil: Keeps the cake moist and tender, a neutral background to the cocoa.
- Eggs: Bind everything together, adding richness and stability.
- Vanilla extract: A splash of warmth, balancing the tang and deepening the cocoa aroma.
Tools of the Trade for a Perfect Cake
- Mixing bowls: Combine ingredients smoothly and efficiently.
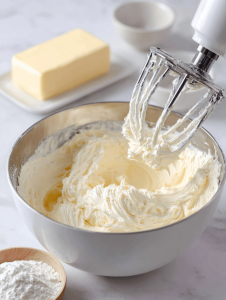
- Electric mixer: Whip the batter to the right consistency.
- Rubber spatula: Fold ingredients gently without deflating the batter.
- 9-inch cake pan: Shape the cake evenly.
- Cooling rack: Cool the cakes evenly and prevent sogginess.
Crafting the Cake: Step-by-Step
Step 1: Preheat your oven to 180°C (350°F).
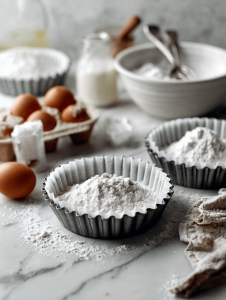
Step 2: Line a 9-inch round cake pan with parchment paper and grease the sides.
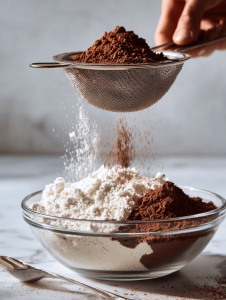
Step 3: In a large bowl, sift together the flour, cocoa powder, baking soda, and salt.
Step 4: In another bowl, whisk the sugar, oil, eggs, buttermilk, and vanilla until smooth.
Step 5: Gradually add the dry ingredients to the wet, mixing just until combined.
Step 6: Divide the batter evenly into the prepared pans, about 2/3 full each.
Step 7: Bake for 25-30 minutes, until a toothpick inserted in the center comes out clean.
Step 8: Let the cakes cool in the pans for 10 minutes, then turn out onto a wire rack to cool completely.
Cooking Tips & Tricks to Nail It
- Ensure the eggs and butter are at room temperature for smoother mixing.
- Don’t overmix the batter; stir until just combined to keep the cake tender.
- Check the cake’s doneness with a toothpick; it should come out clean, not moist.
- Allow the cakes to cool completely before frosting to prevent melting the icing.
Avoid These Common Cake-Making Pitfalls
- Cold ingredients cause lumps and uneven mixing.? Use room temperature eggs and butter to prevent batter curdling.
- Premature opening makes cakes sink.? Don’t open the oven door early.
- Overbaking dries out the sponge.? Keep an eye on the baking time.
- Frosting melts or slips off.? Ensure the cakes are fully cooled before frosting.
Blood-Red Velvet Cake
Ingredients
Equipment
Method
- Preheat your oven to 180°C (350°F). Line a 9-inch cake pan with parchment paper and lightly grease the sides.
- Sift together the flour, cocoa powder, baking soda, and salt into a large mixing bowl. This ensures an even distribution of dry ingredients and removes lumps.
- In a separate bowl, whisk together the sugar, vegetable oil, eggs, buttermilk, and vanilla extract until the mixture is smooth and slightly frothy, filling your kitchen with a warm, sweet aroma.
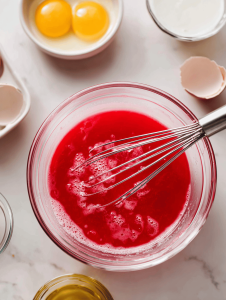
- Add the red food coloring to the wet mixture and mix until the color is evenly incorporated, resulting in a bold, blood-red hue.

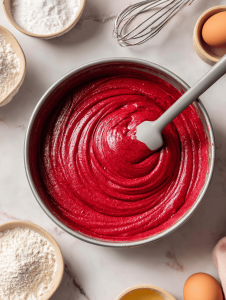
- Gradually pour the dry ingredients into the wet mixture, folding gently with a rubber spatula or mixing on low speed until just combined. The batter will be thick and vibrant red.
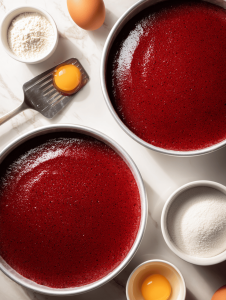
- Pour the batter into the prepared cake pan, smoothing the top with a spatula to create an even surface.
- Bake in the preheated oven for 25-30 minutes, or until a toothpick inserted into the center comes out clean and the cake feels springy to the touch.
- Remove the cake from the oven and let it cool in the pan for about 10 minutes, until slight cracks form and the edges pull away slightly from the sides.
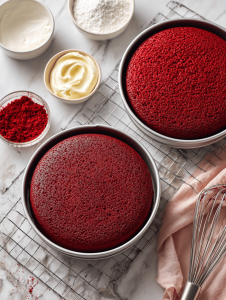
- Gently turn the cake out onto a wire rack and allow it to cool completely, ensuring it’s firm and ready for frosting.
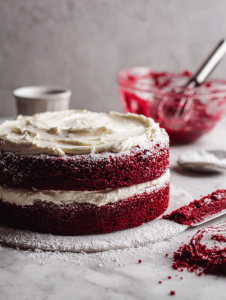
- Once cooled, slice the cake to reveal its vivid blood-red interior — moist, tender, and beautifully vibrant.
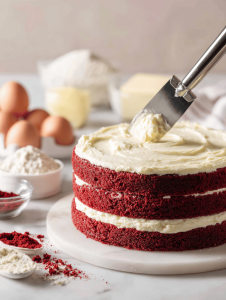
- Enjoy the cake as is or frost with your favorite buttercream or cream cheese frosting for an extra layer of indulgence. Slice and serve for a memorable celebration!

Hi there! I’m Isabella, the founder and curious foodie behind Crumb Detective. I’ve always believed that every dish has a story to tell — from the secret family recipes passed down through generations to the bold experiments happening in kitchens around the world.