Preheat your oven to 180°C (350°F). Line a 9-inch cake pan with parchment paper and lightly grease the sides.
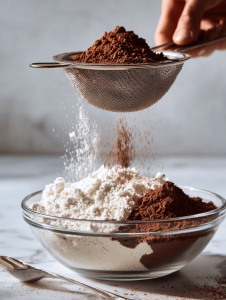
Sift together the flour, cocoa powder, baking soda, and salt into a large mixing bowl. This ensures an even distribution of dry ingredients and removes lumps.
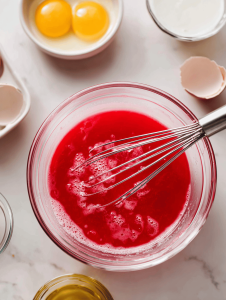
In a separate bowl, whisk together the sugar, vegetable oil, eggs, buttermilk, and vanilla extract until the mixture is smooth and slightly frothy, filling your kitchen with a warm, sweet aroma.
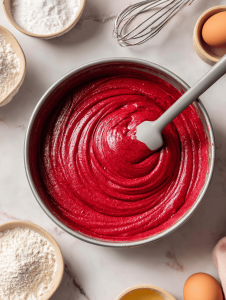
Add the red food coloring to the wet mixture and mix until the color is evenly incorporated, resulting in a bold, blood-red hue.
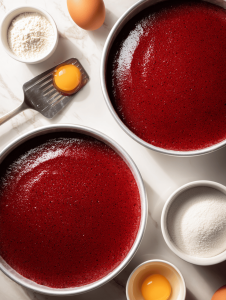
Gradually pour the dry ingredients into the wet mixture, folding gently with a rubber spatula or mixing on low speed until just combined. The batter will be thick and vibrant red.
Pour the batter into the prepared cake pan, smoothing the top with a spatula to create an even surface.
Bake in the preheated oven for 25-30 minutes, or until a toothpick inserted into the center comes out clean and the cake feels springy to the touch.
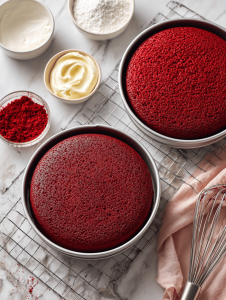
Remove the cake from the oven and let it cool in the pan for about 10 minutes, until slight cracks form and the edges pull away slightly from the sides.
Gently turn the cake out onto a wire rack and allow it to cool completely, ensuring it’s firm and ready for frosting.
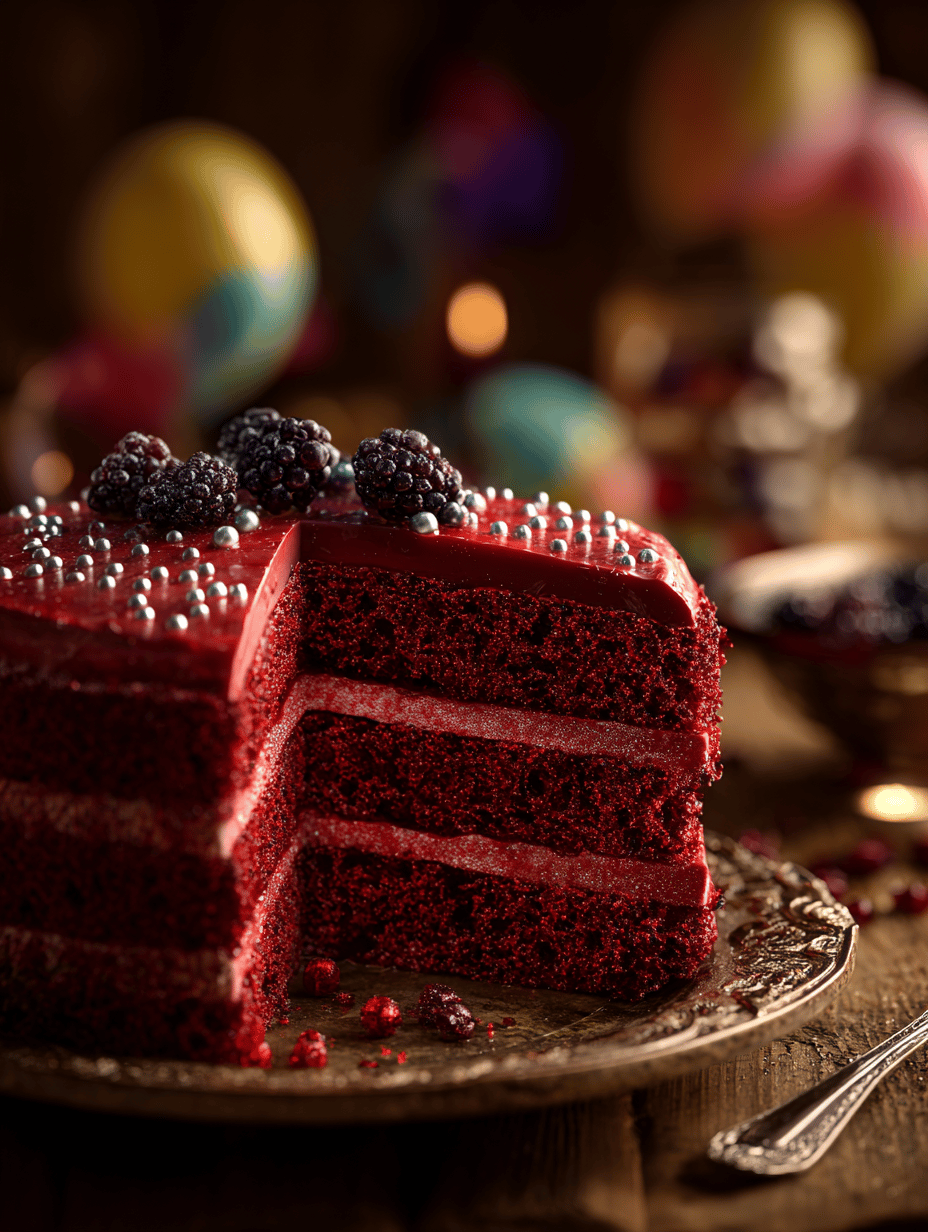
Once cooled, slice the cake to reveal its vivid blood-red interior — moist, tender, and beautifully vibrant.
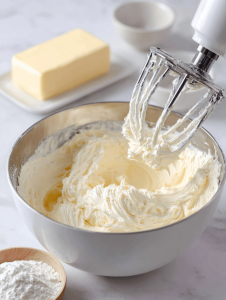
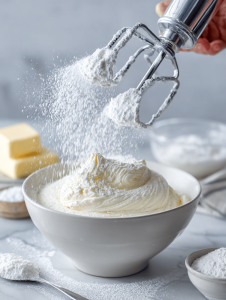
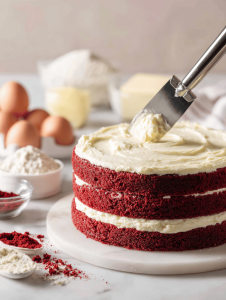
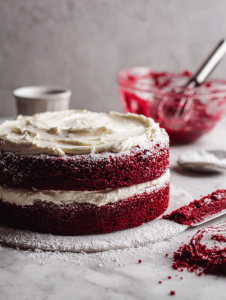
Enjoy the cake as is or frost with your favorite buttercream or cream cheese frosting for an extra layer of indulgence. Slice and serve for a memorable celebration!